Cutting big dovetails, problem solved
Cutting big dovetails can be a problem, especially if your backsaw bottoms out. Here I have a solution and a great technique that can be used elsewhere.
It’s no secret that my workbench is taking a long time to build, this is my 17th year on the project. In my defence, I have to say that I didn’t really do anything on it at all between 2003 and 2016 for a variety of reasons, and when I do get chance to work on it, it’s just for a few hours here and there.
Anyway, in one of my few hours on the project I encountered an unexpected problem.
So what’s the problem?
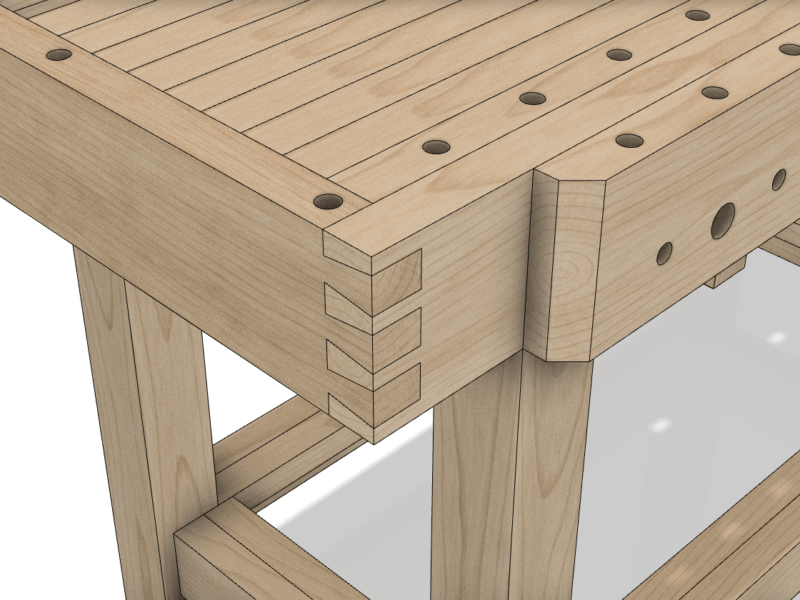
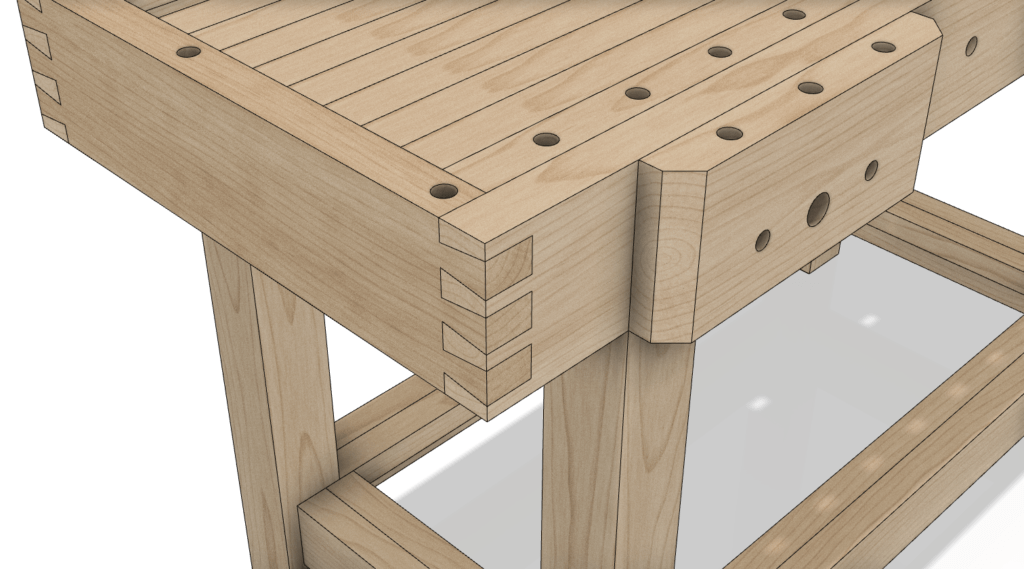
I’ve been having an issue cutting big dovetails. The apron around the top of my workbench is dovetailed to the end caps. So I cut my tails into the end caps no problem. Then, after some difficulty marking them out, I started to cut the pins and came to an abrupt halt. My trusty Veritas dovetail saw bottomed out on it’s back 3/16″ from the baseline. The maximum cutting depth on this saw is 1 9/16″.
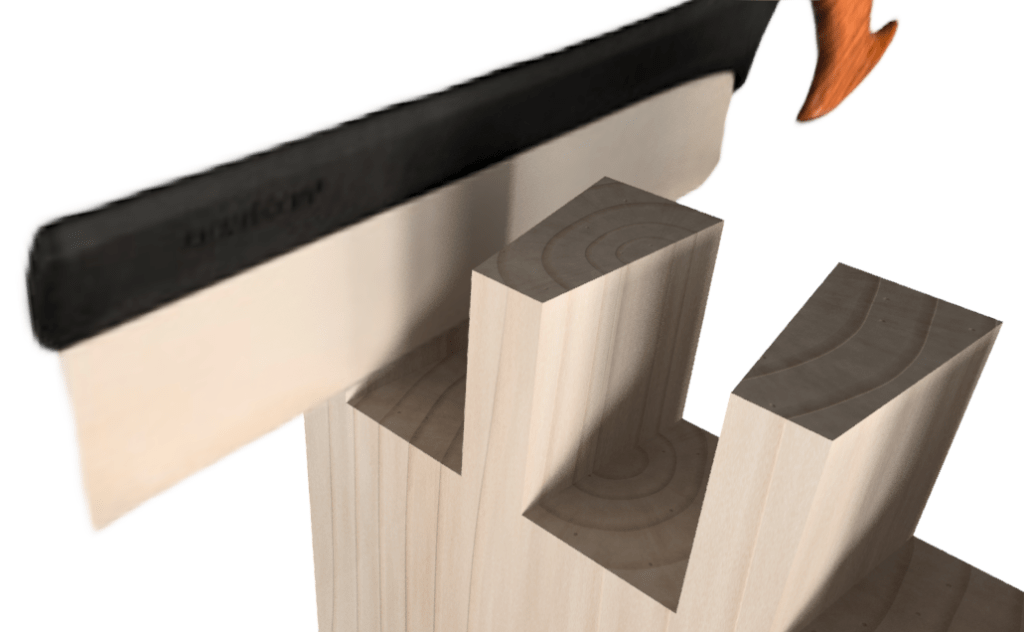
Aargggghh. What! I’ve never experienced that before. Time to have a think.
After a while of the cogs whirring round in my head. I thought… I have a few options.
Option 1
Using my flush cutting Japanese backsaw I could continue the cut to the baseline. But I’m cutting through 1 3/4″ of hard maple. The saw is very flexible and controlling the cut this way is going to prove difficult. Plus, it will take forever.
Option 2
Cut out the waste as far as I can, and then chop the rest out with a chisel. Possibly not the best option when you’re cutting big dovetails. I’m quite good with a chisel, but I think this could end up looking messy. Not to mention the difficulty chopping out between dovetail pins on a 5′ long, 6″ wide, 1 3/4″ thick piece of hard maple without a proper workbench to do it on.
Option 3
Looking around my workshop for some inspiration (which doesn’t take long since it’s only 108ft2) I spotted a pattern router bit. Aha! or as the ancient greeks would say Eureka!
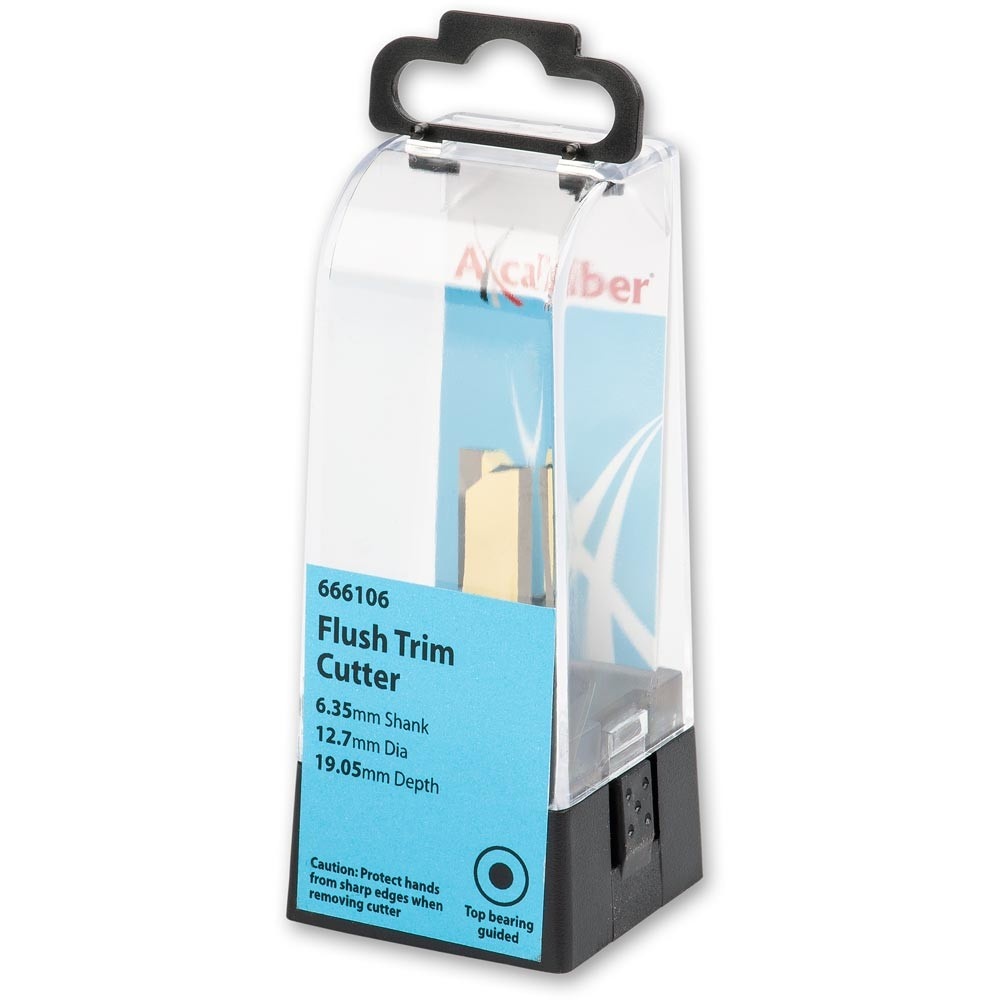
Option 3 it is then…
I’m not a big fan of using power tools, especially when cutting big dovetails for my dream hand tool workbench. But when needs must, I’m not such a zealot that I won’t use a power tool when it’s warranted.
So how does this option work, I don’t have a pattern for a hand-cut dovetail. I’m not using jigs to cut both tails and pins. I’m just hogging out the waste between pins. So that’s why I decided to write this post because it’s a really cool technique and here I’ll explain how I did it.
Making the pattern
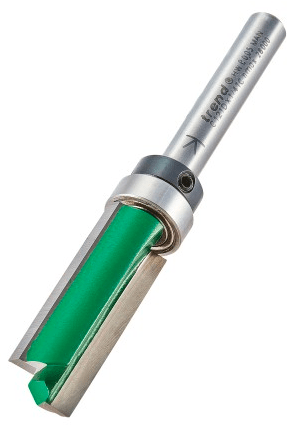
So I have a pattern router bit (and a trim router) but no pattern. Or do I? Actually yes, I do have a pattern. My backsaw wouldn’t go all the way to the baseline. But I can easily cut 1/4″ and hog out the waste with a coping or fret saw. That leaves me with a perfect template for the bearing to run against.
Getting prepared
So, I clamp the workbench apron vertically in my workmate with the other end resting on the floor.
Now, I get my pattern router bit. That’s one with the bearing at the shank end of the cutter, one with the bearing at the end of the cutter won’t work here. Pop the router bit in my trim router. Hook up the dust extractor. Don my PPE and turn on the power.
Cutting big dovetails
Standing on a step-stool, with a head torch on so I can see into the router, I switch the router on. Pushing hard down on the router to make sure it stays square I slide the rotating cutter into the wood.
WOW! this cuts cleanly. Cutting end grain with a router is incredibly easy to control, it doesn’t seem to pull or wander at all. Not like cutting cross-grain at all. So I didn’t start right up at the edges of the pins, just so I could get used to using a router this way, and frankly, it’s got to be the easiest and best result I’ve ever had from a router.
So with a nice clean, hogged out, centre between the pins I decided to try the bearing against my hand-cut walls. Zip – zip. Done. Awesome, that was super easy.
Going deeper
Ok, so I’ve taken another 1/2″ out, that leaves me with another 1″ to go to the baseline. But, I’ve proven the principle and this method of cutting big dovetails has worked way better than I expected.
So I set the trim router to full depth, and check the cutter against the baseline.
Disaster!
My trim router bit isn’t long enough to reach the baseline. Another issue with cutting big dovetails, even with a power tool! I’m 1/4″ short. So back to square 1, do not pass go, do not collect £200.
Wait a minute, this bearing comes off the shank. It’s only held on by a collar with a grub-screw.
Over to my collection of router bits. What have I got in 1/2″ diameter 1/4″ shank cutters? Aha, a 1″ long 1/2″ diameter 1/4″ shank cutter is right there in front of me. Not ideal, but it will do.
Making a longer trim router bit
So I undo the grub screw, pull off the collar and bearing from my 3/4″ long pattern router bit and fit them to the 1″ long straight cutter. Voila! I now have a 1″ long pattern router bit.
Setting the router bit a little further out of the collett than I would normally do (1/8″ further) I check the depth against the baseline. Spot on.
Zip -zip. Done. Absolutely perfect with the baseline, and the walls of the pins are perfectly square with the end. Awesome.
I hate to say it but, sometimes power tools are a better option.
Is there a better way?
So can I improve on this technique? You bet.
Ditch the saw
I got to thinking. Do I really need to use a saw for the pins? Nope.
When I did my first freehand test cut with the trim router bit I noticed that it was extremely controllable cutting into end grain. So, for the other end of the apron, I grabbed a pencil and ruled some dark lines inset by 1/16″ on the waste side from my knifed transfer lines.
Now, I set the router base so that only 1/4″ or so of the router cutter was exposed. My freehand cuts don’t need to be deep, just deep enough for the bearing to run against the “pattern”.
I freehand up to my pencil lines. That leaves me with about 1/16″ to the knifed tansfer lines. This next bit I want to be super accurate.
Forming the pattern template
Using a 1″ wide chisel, I pare down until I’m about 1/64″ from the tranfer lines. Chopping out the shavings as I go.
Next, I drop the chisel edge into the knifed transfer line, make sure it’s absolutely square to the end and whallop, a gentle blow with the mallet and hey-presto! a square, straight and perfectly formed pin wall “pattern”.
Finally, I set the pattern router bit so the bearing will run against the newly-formed pattern template for the pin walls. Zip-zip. Set the bit to the baseline again. Zip-zip. Done.
Advantages and disadvantages
This method has some serious advangates over hand cutting pins. Firtly, the pin walls are absolutely square to the end face. Next, the baseline is totally flat, and parallel to the end face.
There are some disadvantages too, but not many. The main disadvantage is the size the tails can be. Realistically, you can’t have tails that are narrower than 5/8″, although you can go a tiny bit narrower if you are really confident of your freehand routing ability. The other disadvantage is if you are using thin stock, because there isn’t much of a reference face for the router base (although you could clamp some additinal material to the workpiece to resolve this).
Another disadvantage is that you can only really do through-dovetails. Half-blind, mitred or fully blind dovetails are not going to work.
Defining a new normal
I’m definitely going to use this method again. In fact, for cutting big dovetails this is now going to be how I cut out all the pins. In fact, even for some smaller dovetails this method has some merits.
I can see some significant advantages for casework. Creating consistent, repeatable pins along a long edge is a big plus.
I’ve tried dovetailing jigs in the past and always found them to be less than satisfactory. Set up is overly complex and the results were quite poor.
This method is so simple and creates such great results. You get the advantage of hand-cut tails and that perfect imperfection you can only get from using hand tools. Combined with the machine perfection where you need it most, giving beautiful, aesthetically pleasing through-dovetails.
